Clients in one place, tasks in another, details retyped everywhere
A small team usually ends up with three lists that do not talk to each other: a client list, a list of contracts or deals, and the tasks. Every new task means retyping the client's address or contract value, and nobody can answer "what is everyone working on this week?" without asking around.
This guide sets up one shared workspace where client details are entered once and pulled in where they are needed, tasks have an owner, a date and a reminder, and one list shows every task across the business.
Step 1: one shared project, one page per department
- Create one project for the business and share it with your team.
- Add a page per department or area, for example Sales, Products, Operations. Keep them as pages of one project instead of building deep levels of sub-projects: a flat structure is easier for everyone to find their way around.
- Add two collections: Companies and Clients (or Deals). Step 2 connects them.
Step 2: link clients to companies with a relation, pull details with a rollup
A relation connects two collections. A rollup then pulls a property from the connected record, so you enter it once.
- In Companies, add the details you keep retyping: Industry (a tag), Address and Contract value.
- In Clients, add a new column of the Relation type and choose the Companies collection. You can also show the relation in Companies, for example as an Employees column, so each company lists its people automatically.
- Still in Clients, add a Rollup column, choose the relation, then the property to pull: Industry. Repeat for Address and Contract value.
- Add a new client and pick the company. Industry, address and contract value fill in on their own.
Change the address in Companies and every client of that company shows the new one. For a quick history of the records, add the Created by and Created time properties to both collections: you see who added each client and when.
Step 3: real tasks with an owner, a date and a reminder
A row in a collection is a record. Work that someone has to do belongs in a task, because tasks show up in people's planners and send notifications. Each project has a Tasks tab: click the small arrow at the start of the project's tabs to open it.
- Assign it. Set a due date, a priority and an assignee. The assignee gets an email, and a push notification if they use the xTiles mobile app.
- Add a reminder. Below the date, add a reminder, for example a day before the deadline, so nobody hears about it for the first time on the day.
- Link the client. Paste a link to the client record in the task, so the details are one click away instead of copied into the task.
- Discuss in comments. Click a block or task, open the comment button and @mention a teammate. They get a notification, and the conversation stays next to the work.
Step 4: one master task list for the whole business
You can create tasks on any page: the Sales page, the Products page, inside a tile. The Tasks tab collects them in one list and shows each task's location, so you know which department it came from.
- A view per department: duplicate the view and filter it by location, for example Products.
- Views by status and priority: To do, Completed, By priority.
- The planner as the weekly view: tasks with a date appear in the planner, so you see the week day by day, including what was finished on each day.
Use the Tasks tab to manage the list and the planner to plan the week. For the personal side of a master list (capturing everything without overplanning a day), see how to keep a master list without overplanning.
Optional: let ChatGPT or Claude move tasks between apps
Some teammates may still live in another task or calendar app. Instead of keeping two lists by hand, connect xTiles and that app to the same AI assistant, ChatGPT or Claude, and ask it to do the copying. For example:
- "Find all tasks in my [business] project in xTiles that are due this week and assigned to [name]. Add each one to my [other app] with the same title and due date, and a link back to the task in xTiles."
Keep xTiles as the place where tasks are created and closed, and treat the copy as a view. Check the result the first few times before you rely on it.
Free templates for small business task management
All four are free in the xTiles template gallery.
1. CRM Sales Pipeline: deals and companies
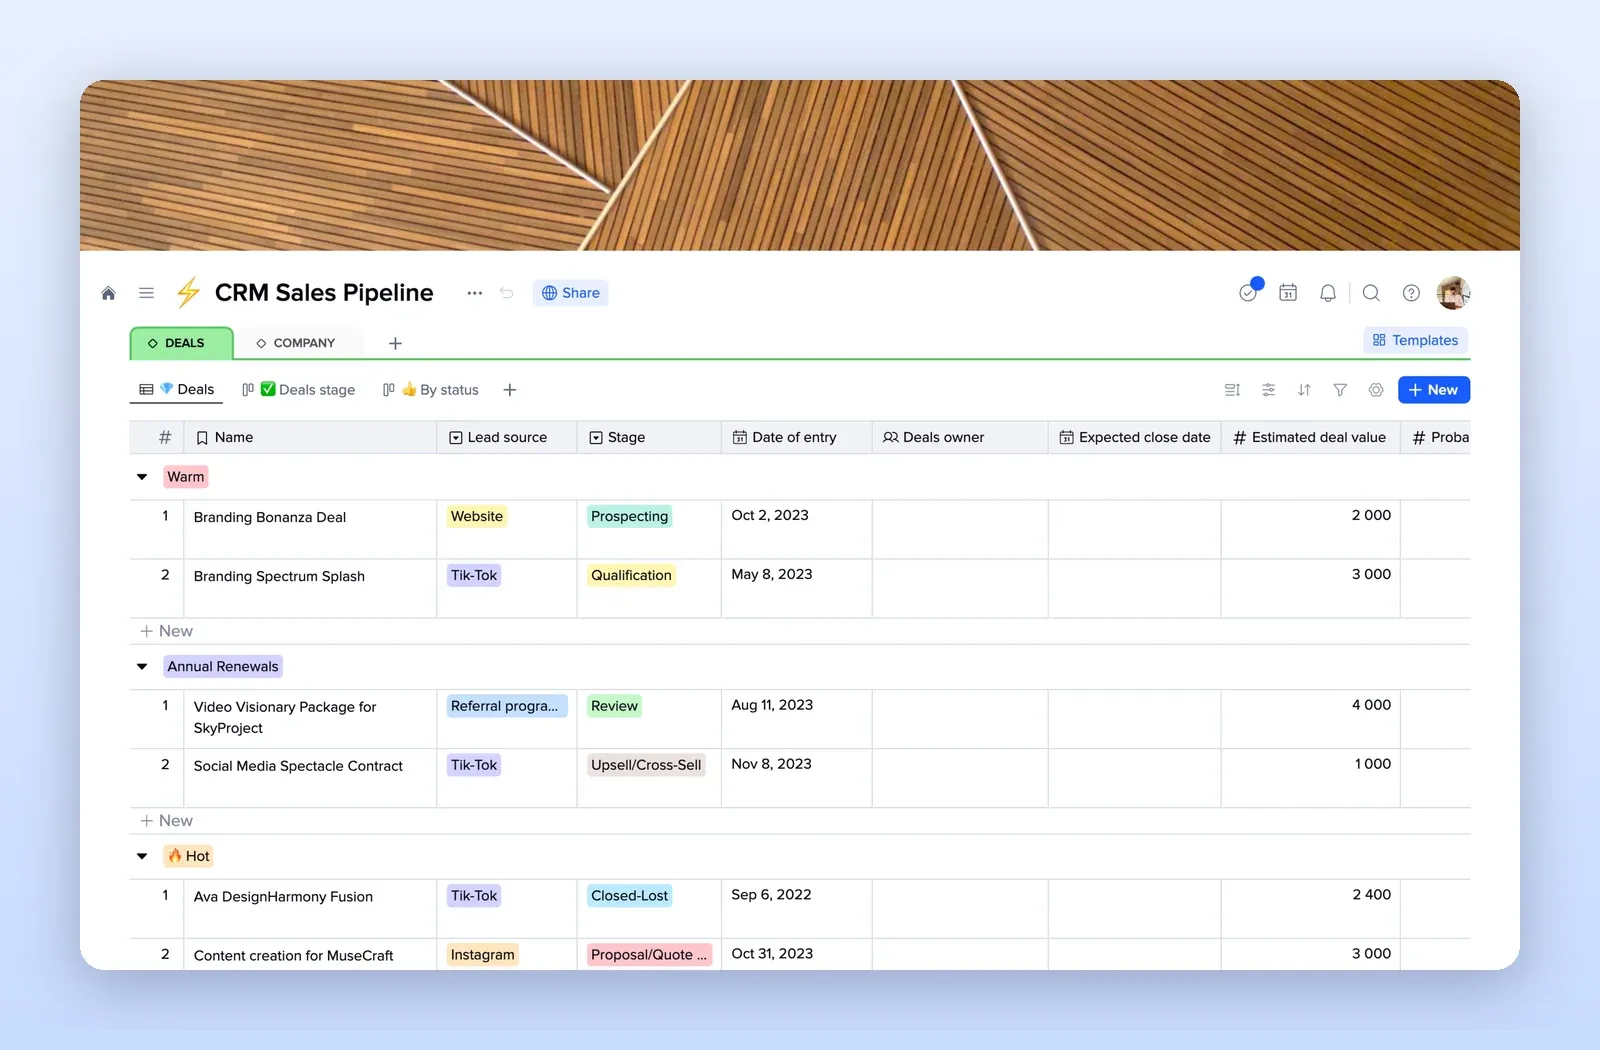
Deals and Company tabs with lead source, stage, owner, expected close date and deal value, plus board views by stage and status. A ready base for Step 2. Open the CRM Sales Pipeline template.
2. Task Management: tasks, sprints and projects
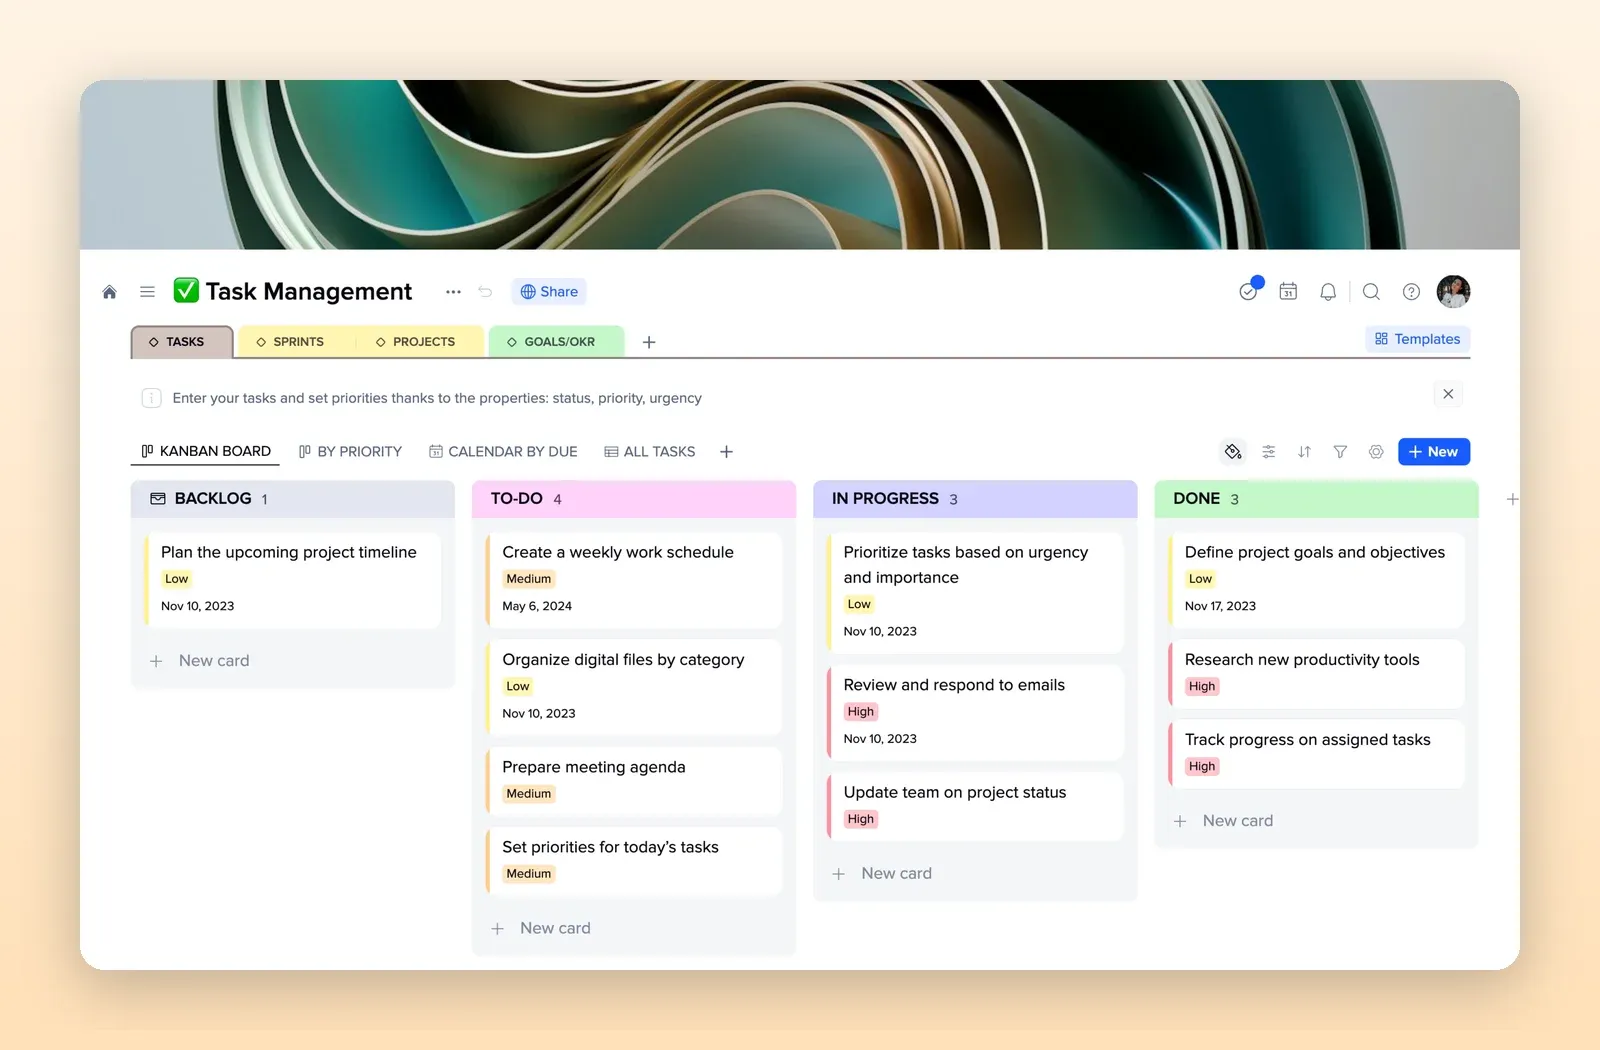
A kanban board by status, views by priority and by due date, and tabs for sprints, projects and goals. Open the Task Management template.
3. Project Management Plan: one page per client project
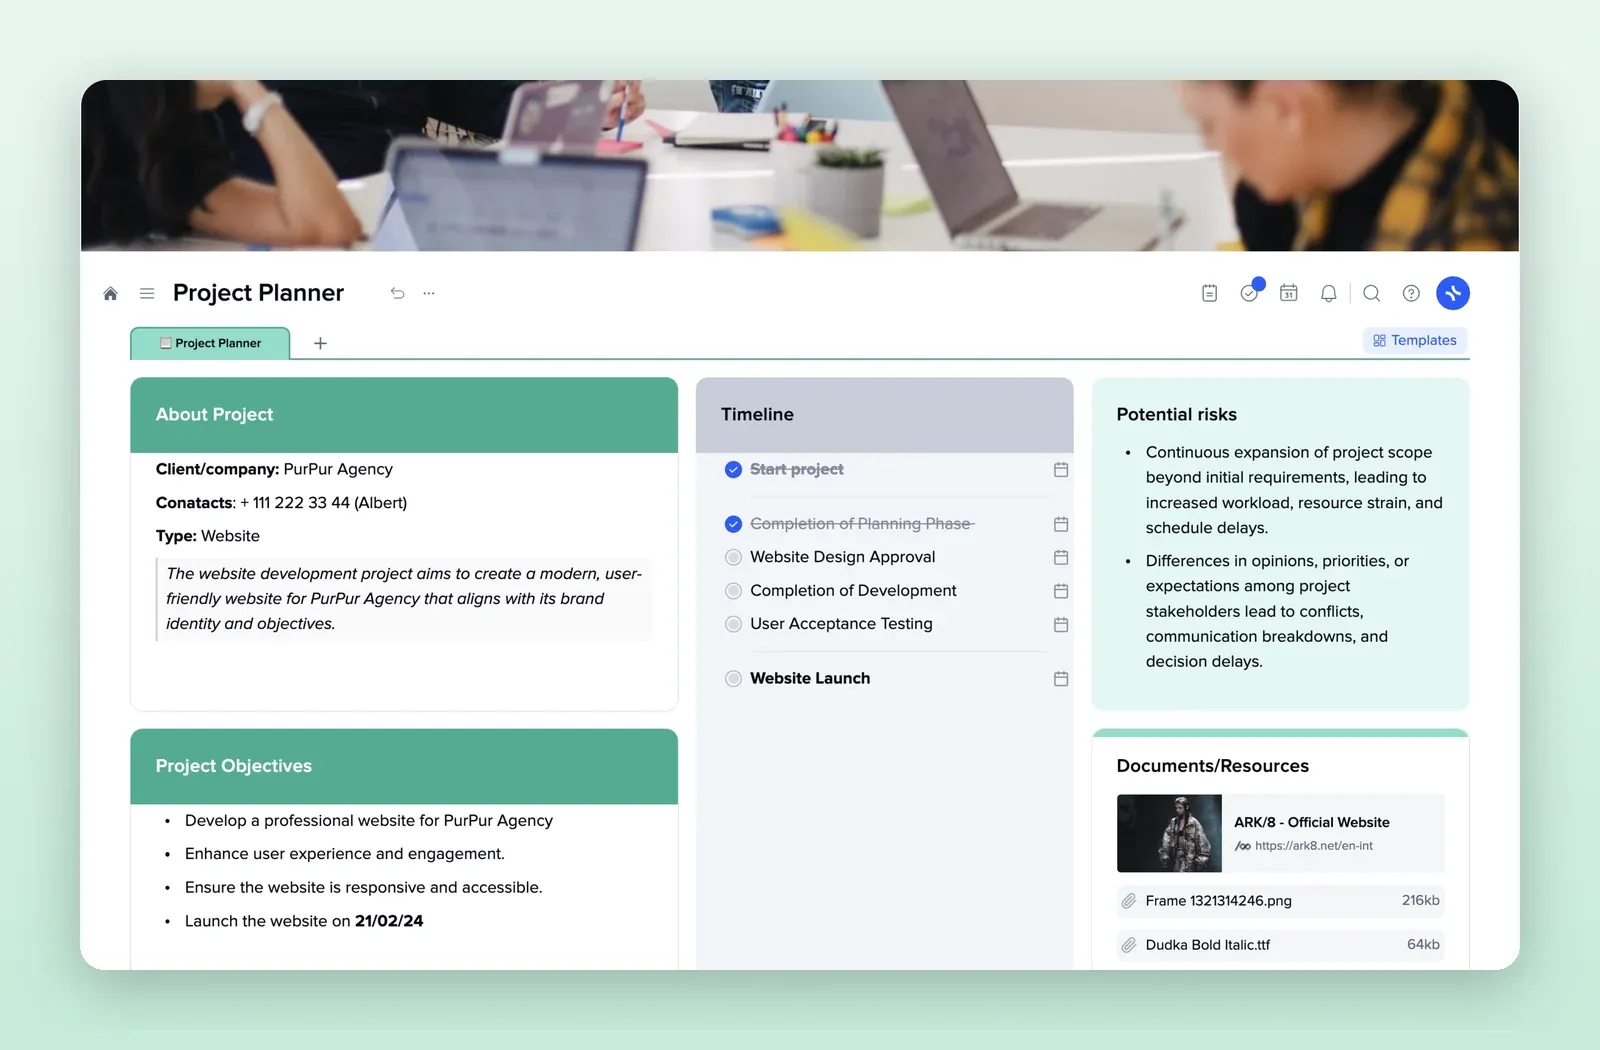
Client details, objectives, a timeline of milestones, risks and documents on one page. Duplicate it for each client project. Open the Project Management Plan template.
4. Client Onboarding: the same steps for every new client
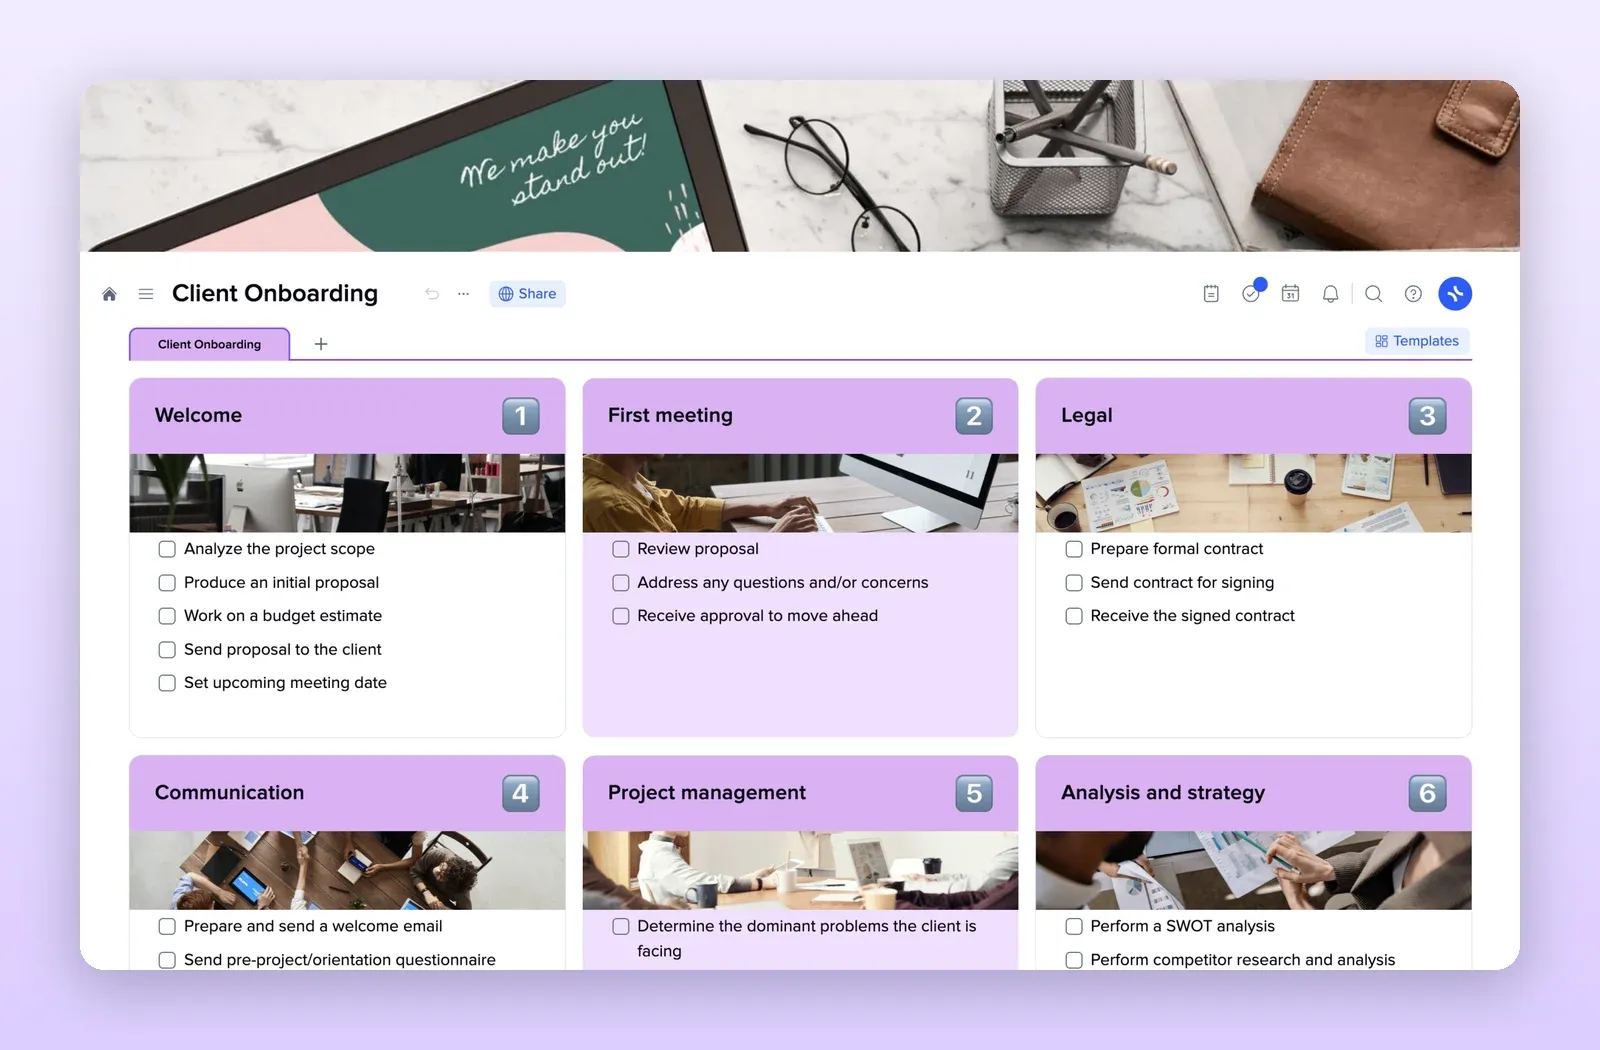
Welcome, first meeting, legal, communication, project management and strategy checklists. Turn the steps into assigned tasks for each new client. Open the Client Onboarding template.