Six months, two people, one place to look
Valentyn runs work and personal life in xTiles, including the data he prepares for a scientific publication. His next step is a project with a student that will last about six months. The plan, as he described it, is "to have a shared space in xTiles, to sync up and run the process together."
Six months is long enough for a project to drift. Notes end up in chats, deadlines in two calendars, and the question "what are we doing this week?" takes a meeting to answer. The setup below keeps all of it in one shared space that both of you open, with a tracker that stays readable in month five.
Step 2: track the work in a collection, not a long list
Valentyn's honest view of long task lists: "they pile up very quickly, and it's quite hard to keep track of it all." In his own task view he had to scroll three times to see everything. A simple table on a page works for a short list. For a six-month project, use a Collection: a database where each row is an item and the same rows can be shown in different views.
To create one, start a new page and choose a Collection layout such as Table, Board or Calendar. Then add these properties:
- Status: Planned, In progress, Waiting for review, Done.
- Owner: a person property, so each row has one name on it.
- Type: reading, experiment, data, writing, admin.
- Date and end date: a start and an end, so longer work shows as a block across days.
- Link and Files: the paper, the dataset, the draft.
Then add views of the same rows. Each view is a different way of looking at one set of data, so a change in one view shows up in all of them:
- All: the full table, sorted by date.
- Board by status: what is planned, in progress and waiting for review.
- Calendar: every deadline in one month view. When he saw it, Valentyn put it simply: "You can collect deadlines here. Nice."
- This week: a duplicate of the table view filtered to the current week. This is the view you open first.
- Waiting for me: filtered by owner and the Waiting for review status, one for each of you.
Open any row and it becomes a page, so the notes, sub-tasks or a small table for that experiment live inside the row instead of next to it. If the project already lives in a spreadsheet, you can import it as a Collection instead of retyping it.
Step 3: plan six months as milestones, then fill only the next month
Write the milestones on the Overview page and as rows in the tracker with an end date. A typical shape for a research project:
- Month 1: agree on the question and scope, read the key papers.
- Month 2: methods and a pilot.
- Months 3–4: data collection.
- Month 5: analysis and a first full draft.
- Month 6: revisions and submission.
Break down only the next month into tasks. Six months of detailed tasks on day one is how a tracker becomes the list nobody reads. At the end of each month, look at the next milestone together and add its tasks.
Step 4: one weekly meeting that updates the tracker
- Before the meeting, each of you opens the This week view and moves your rows to the right status.
- During the meeting, write the note on the Meeting notes page: what was done, what is blocked, what was decided.
- After the meeting, every next step becomes a row in the tracker with an owner and a date. If it is not in the tracker, it was not agreed.
This takes a few minutes a week, and it means neither of you has to search chats in month four to find what was decided in month two.
Optional: Claude writes a weekly snapshot to the log page
If you use Claude, connect it to xTiles in your profile under AI integrations: choose Claude and click Connect. Claude can then read the project and add or edit pages and rows. Before you do, agree with the student which pages Claude may work with.
One small workflow pays off over six months: a weekly snapshot. Every Friday, ask Claude:
- "Read the Tracker and the last entry on the Weekly log page in my [project name] space. Add a new entry dated today with: rows that changed status since the last entry, new rows, rows past their date, and decisions from this week's meeting note. Keep it under fifteen lines."
The log gives both of you a short record of the project week by week, and it is the first thing to read after a break. Before you ask Claude for a large reorganization of the project, ask it to duplicate the project first. Then you can compare the result with the original and keep the version you prefer.
Free templates for a shared research project
All four are free in the xTiles template gallery.
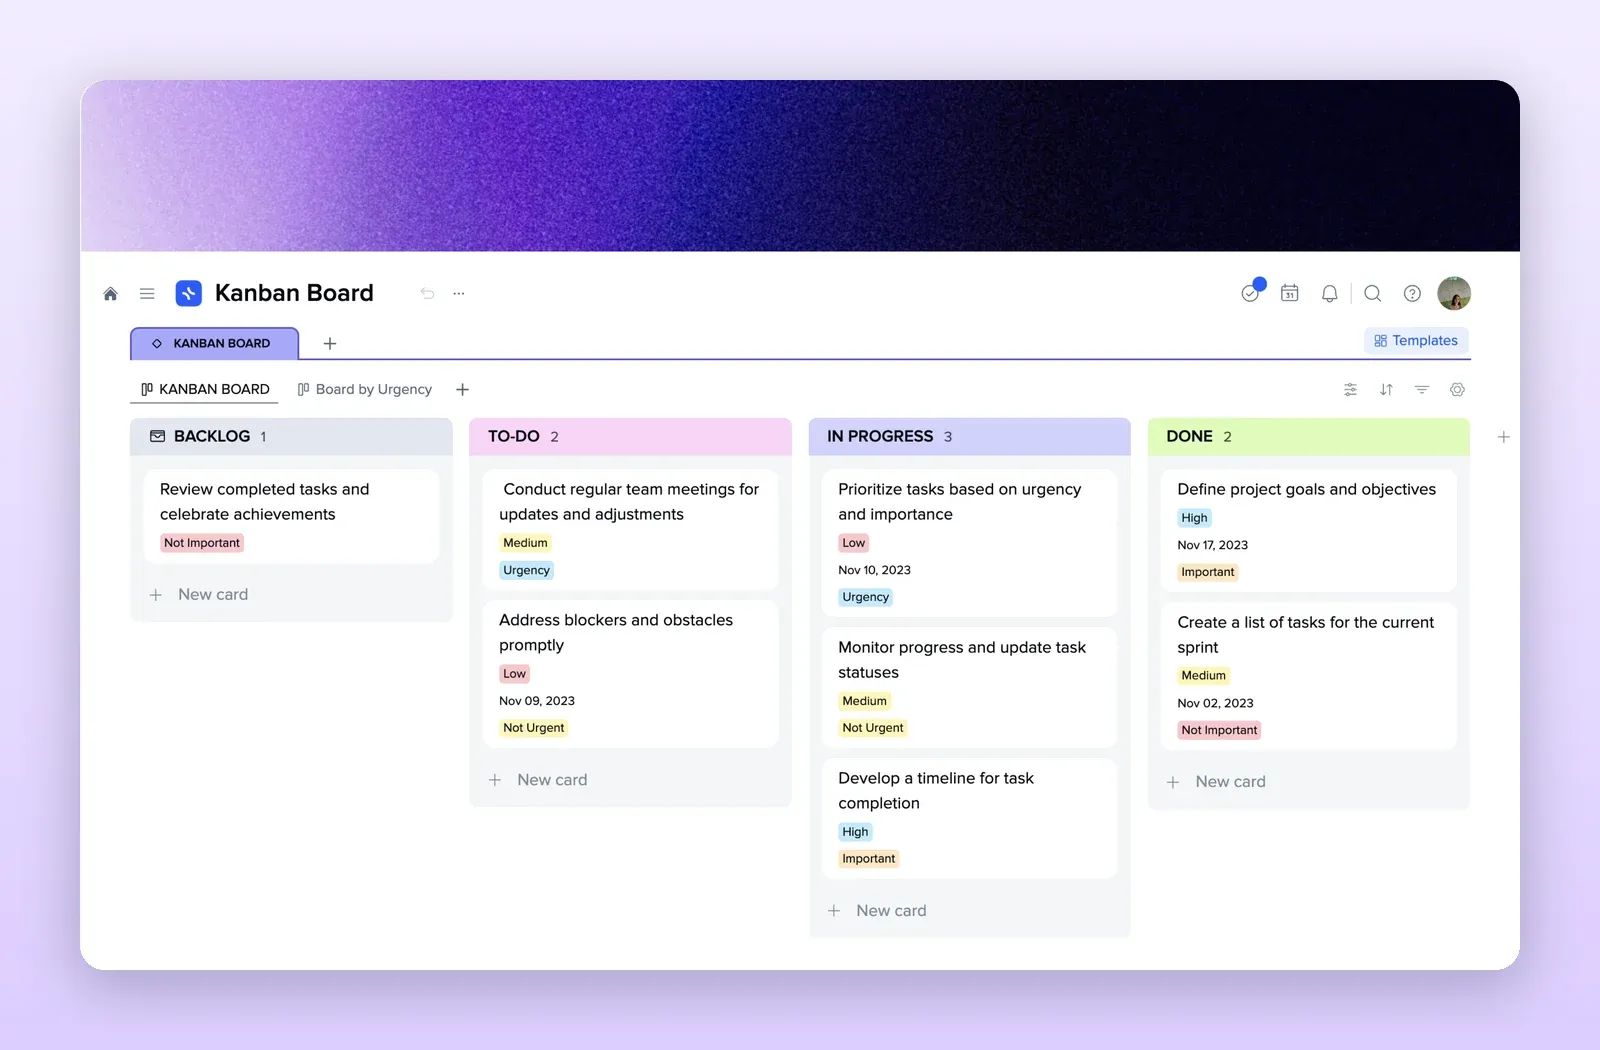
1. Project Plan: the Overview page
Project description, goals, deliverables, scope and a stakeholder communication tile, with tabs for budget, plan and brief. Replace the sample with your research question and milestones. Open the Project Plan template.
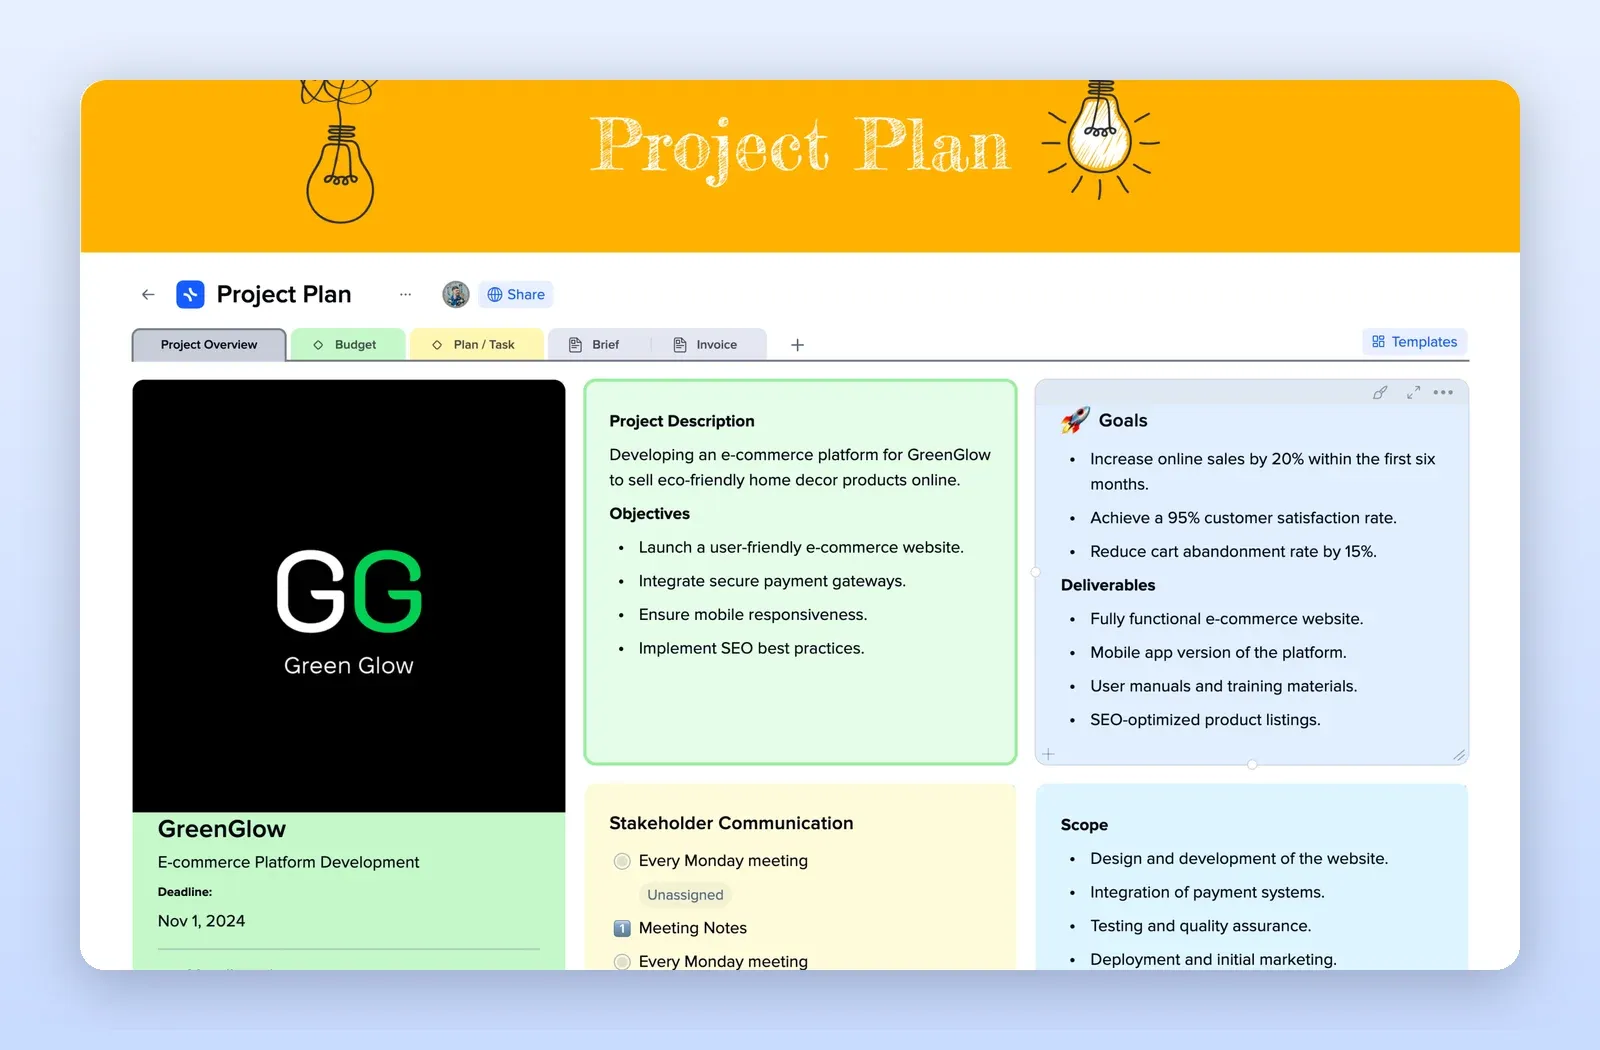
2. Research Proposal: agree on the question first
Title, motivation, problem statement, introduction, thematic categories and ethical issues. A good first task for the student in month one. Open the Research Proposal template.
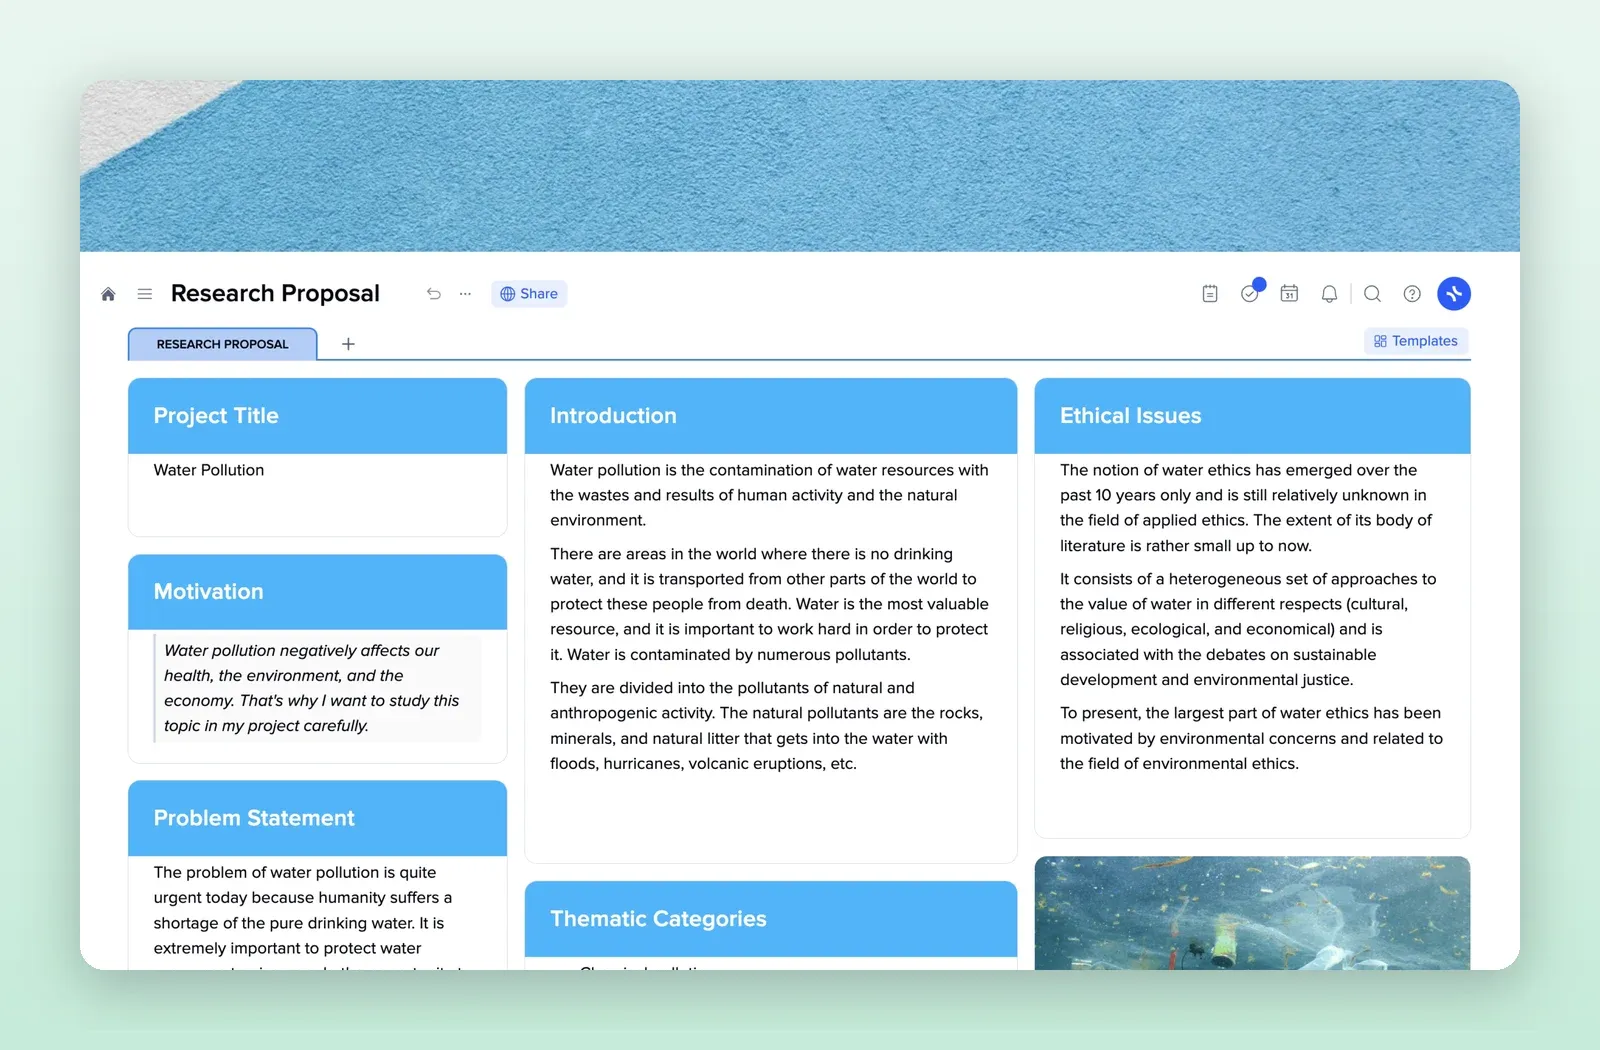
3. Meeting Notes: the weekly meeting
Agenda, attendees, action plan and notes on one page. Duplicate it for each meeting. Open the Meeting Notes template.
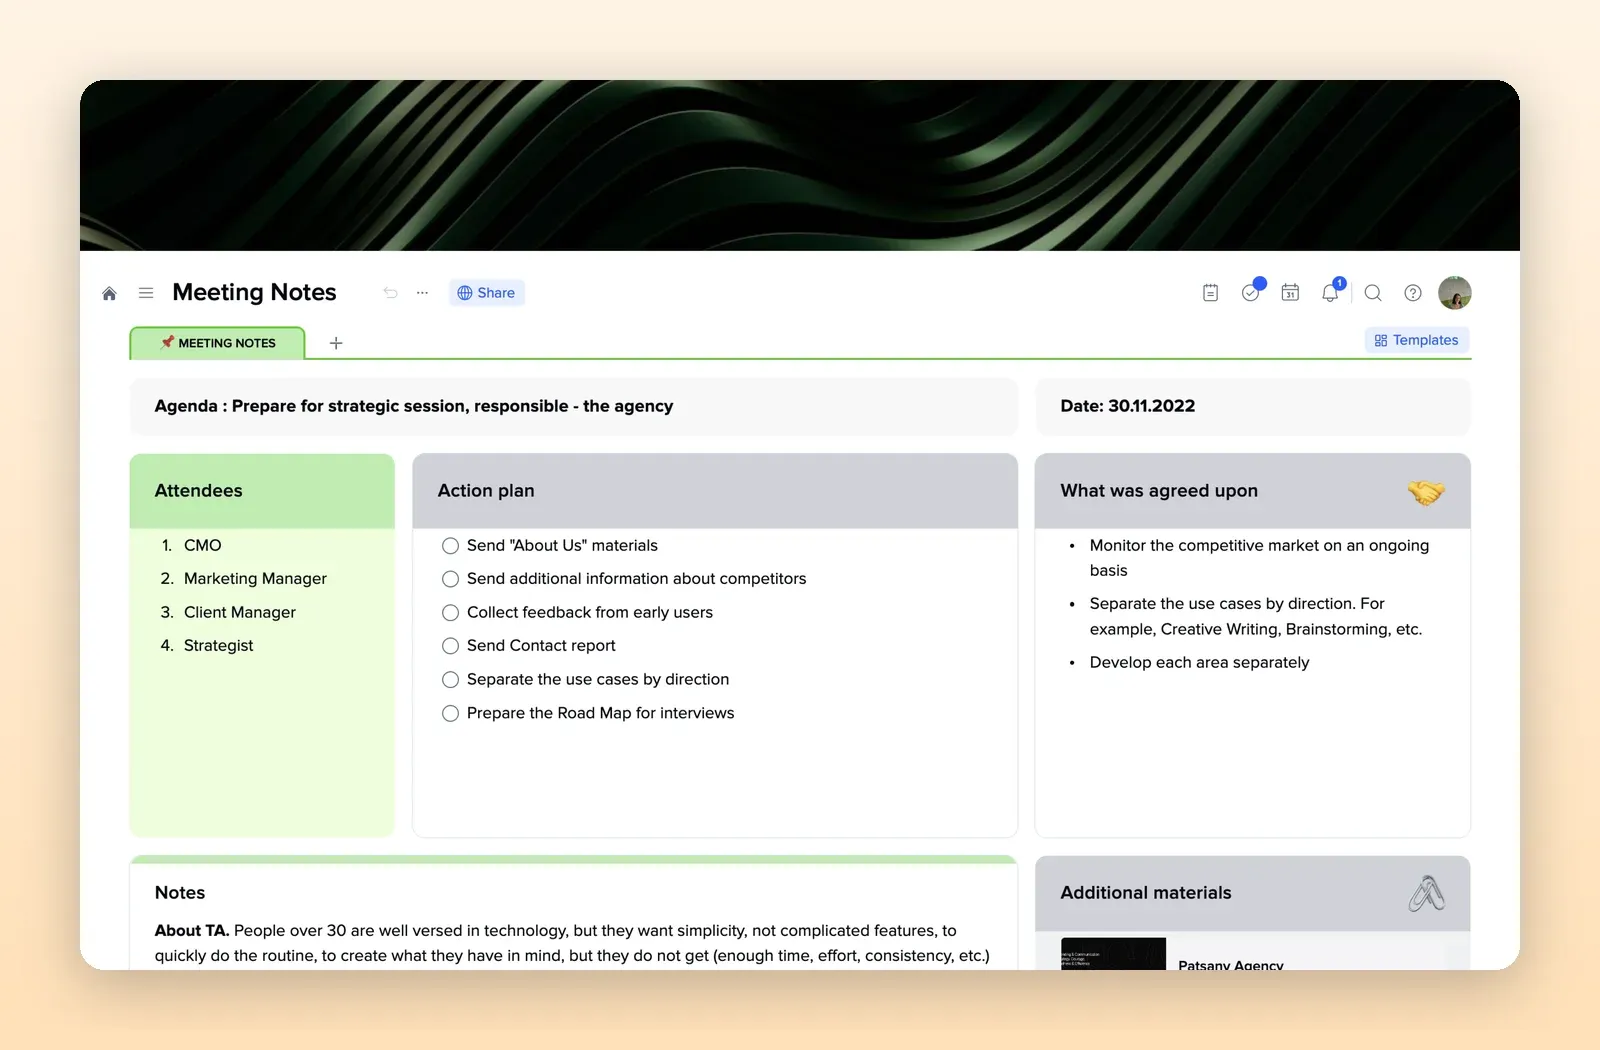
4. Kanban Board: the status view
Backlog, to do, in progress and done, with priority and dates on each card. Use it as a starting point if you prefer a board to a table. Open the Kanban Board template.