Client work by day, a store on the side
Jodi does freelance paralegal work for several law firms and is starting an e-commerce business at the same time. The freelance work pays the bills and has hard deadlines. The store is new, has no deadlines yet, and is easy to push to "later" every week.
What Jodi wanted was simple to say: "your emails and your to-dos and all that stuff, all kind of together." The hard part was getting started. She had signed up for xTiles, opened it, and stalled. Learning any new tool takes a stretch of attention that two jobs do not leave.
So the setup below is built to be learned in small pieces, one page at a time, and to keep the store moving on weeks when client work takes over.
Step 1: two spaces, one planner
- Create a Freelance space with one project per firm or client. Keep only tasks and dates there, not case documents: those stay in the firm's own systems.
- Create a Store space with one project for the launch and, later, one for running the store.
- Give every task a due date. Tasks with a date from both spaces show up together in My Planner on that day, so you plan one day, not two jobs.
Spaces keep the two businesses apart when you are working on one of them. My Planner puts them together when you are deciding what fits into today.
Step 2: an e-commerce launch checklist you can work through in short sessions
Write the launch as a board with Backlog, To do, In progress and Done, one card per task. Small cards matter: each one should take one session of 20 to 40 minutes. A starting list:
Product and supply
- Pick the first products and order samples.
- Confirm supplier prices, minimum orders and delivery times.
- Photograph each product.
Store setup
- Choose a store platform and a domain name.
- Set up payments, shipping rates and taxes.
- Write the shipping, returns and privacy policies.
Listings and launch
- Write product titles and descriptions.
- Place a test order and refund it.
- Tell your first audience: friends, an email list, one social channel.
After launch
- Track orders, returns and customer questions in the store project.
- Once a week, note what sold and what to change.
Step 3: plan the week around the client work
Client deadlines come first, so put them in the week before anything else. Then give the store a fixed, small slot:
- Two store cards on a heavy client day, more on a light one. Move them to a date in My Planner so they show up next to the client tasks.
- One learning task per week for the tool itself, for example "set up the store board" or "connect my calendar". It counts as store work.
- A Friday look back: move unfinished store cards to next week instead of letting them pile up.
Optional: let Claude build the checklist and log your evening
Jodi is careful with AI. As she put it, "the less of my information that's out there, the better." If you feel the same, you can skip this section entirely, or connect only the tools you are comfortable with. With Claude connected to xTiles, two small workflows help with a side business:
- Build the launch board from a description. For example: "Create a project in my Store space called Launch, with a board of launch tasks for a small online store selling [products]. One card per task, each small enough for one short session."
- An evening reflection that logs what you finished. Claude adds the day's finished work as completed tasks, so you can see progress on the store even on a busy client week. See how the end-of-day reflection works.
Jodi liked the second idea at once: "Oh, yeah, no, I like that. I want that." A morning brief with emails and the day's tasks is also possible, but start with one workflow and add the next when the first one is part of your routine.
Free templates for a side business planner
All four are free in the xTiles template gallery.
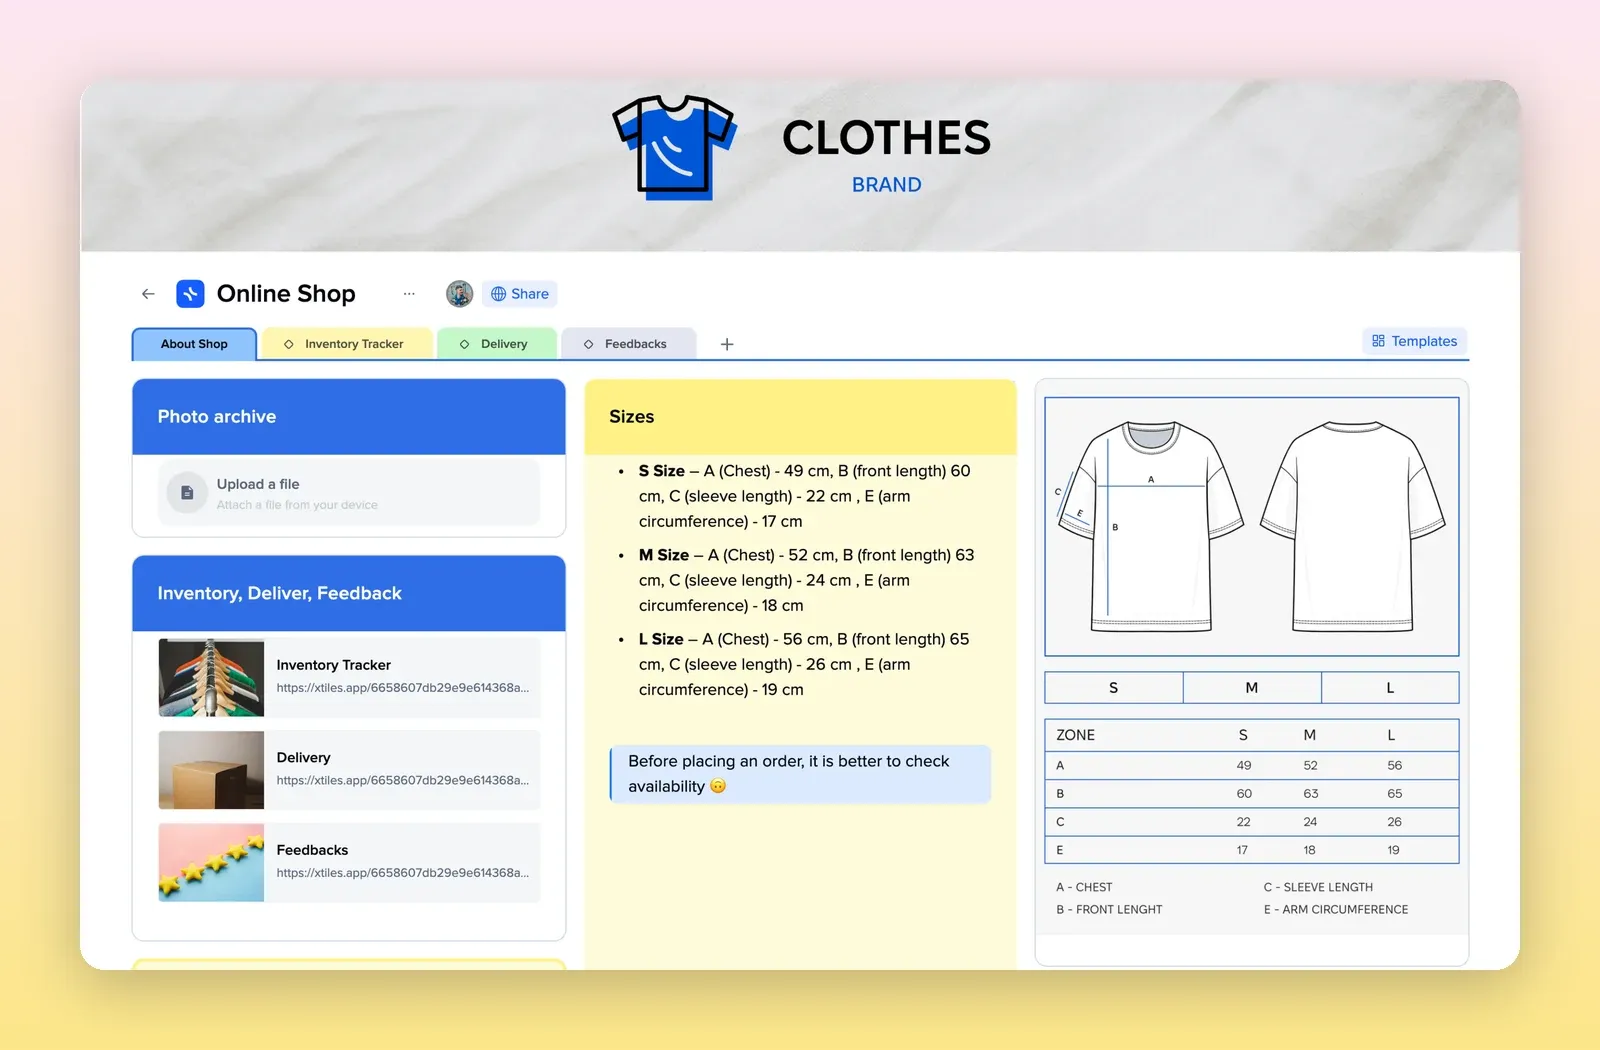
1. Online Shop: the store in one project
Tabs for the shop, an inventory tracker, delivery and feedback, plus a photo archive and size charts. A base for the Store space. Open the Online Shop template.
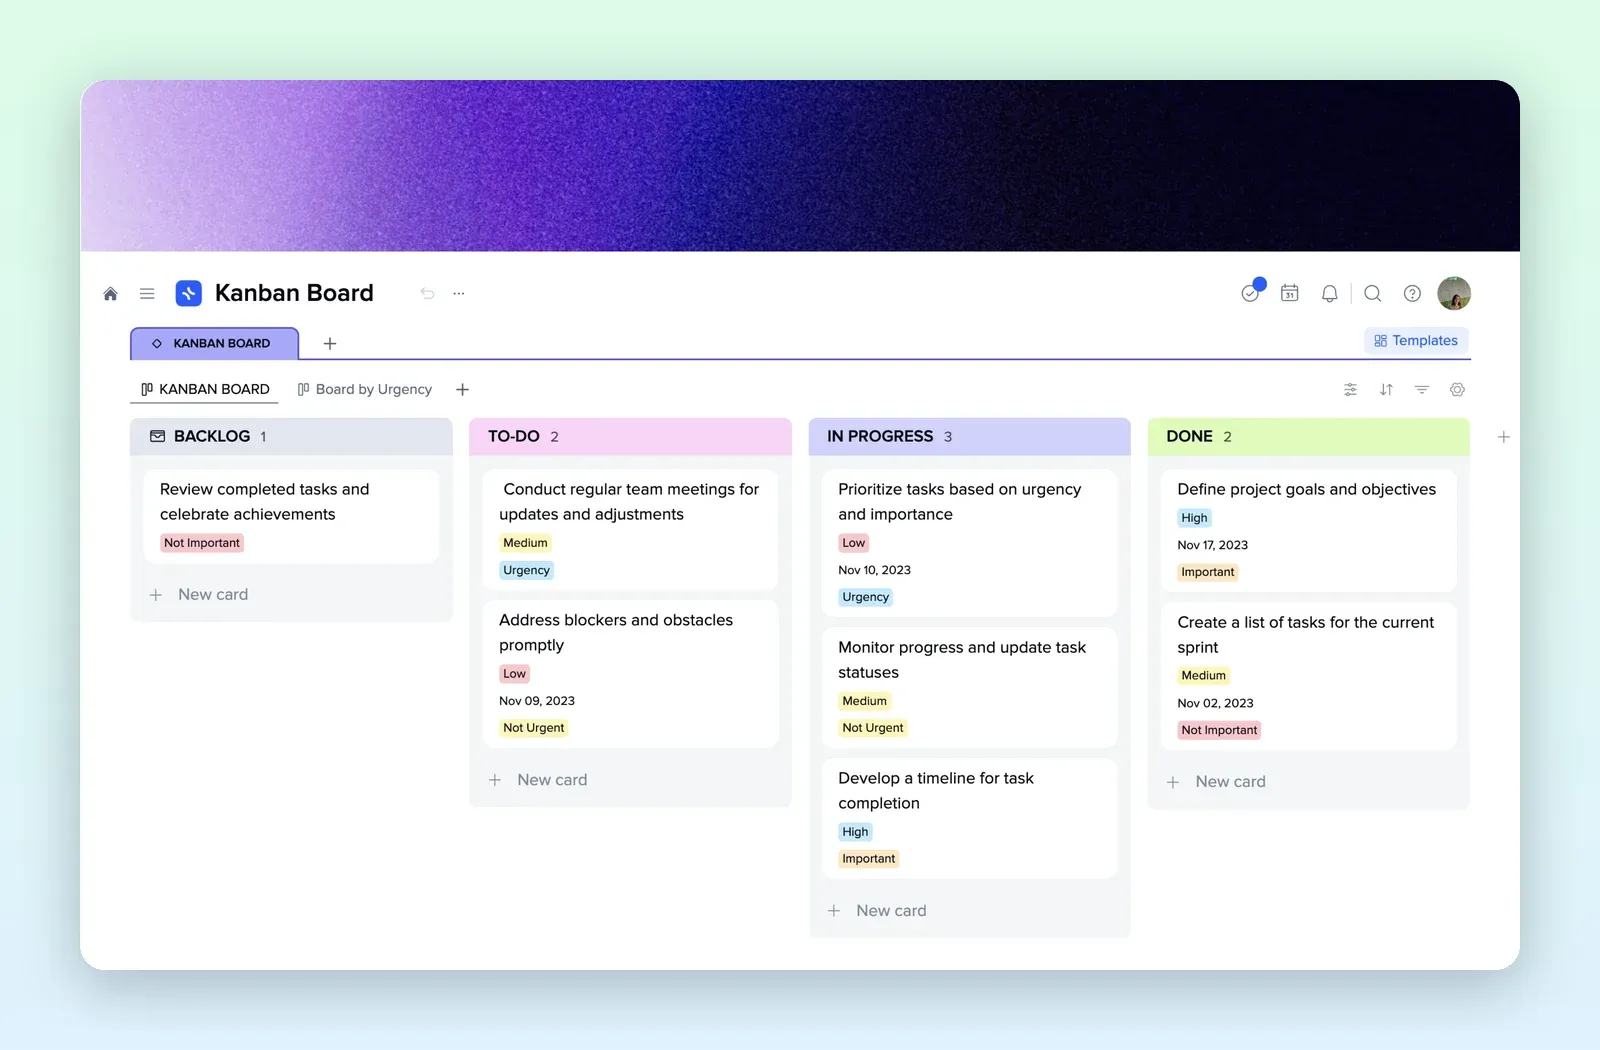
2. Kanban Board: the launch checklist
Backlog, to do, in progress and done, with priority and dates on each card. Paste the launch checklist from Step 2 here. Open the Kanban Board template.
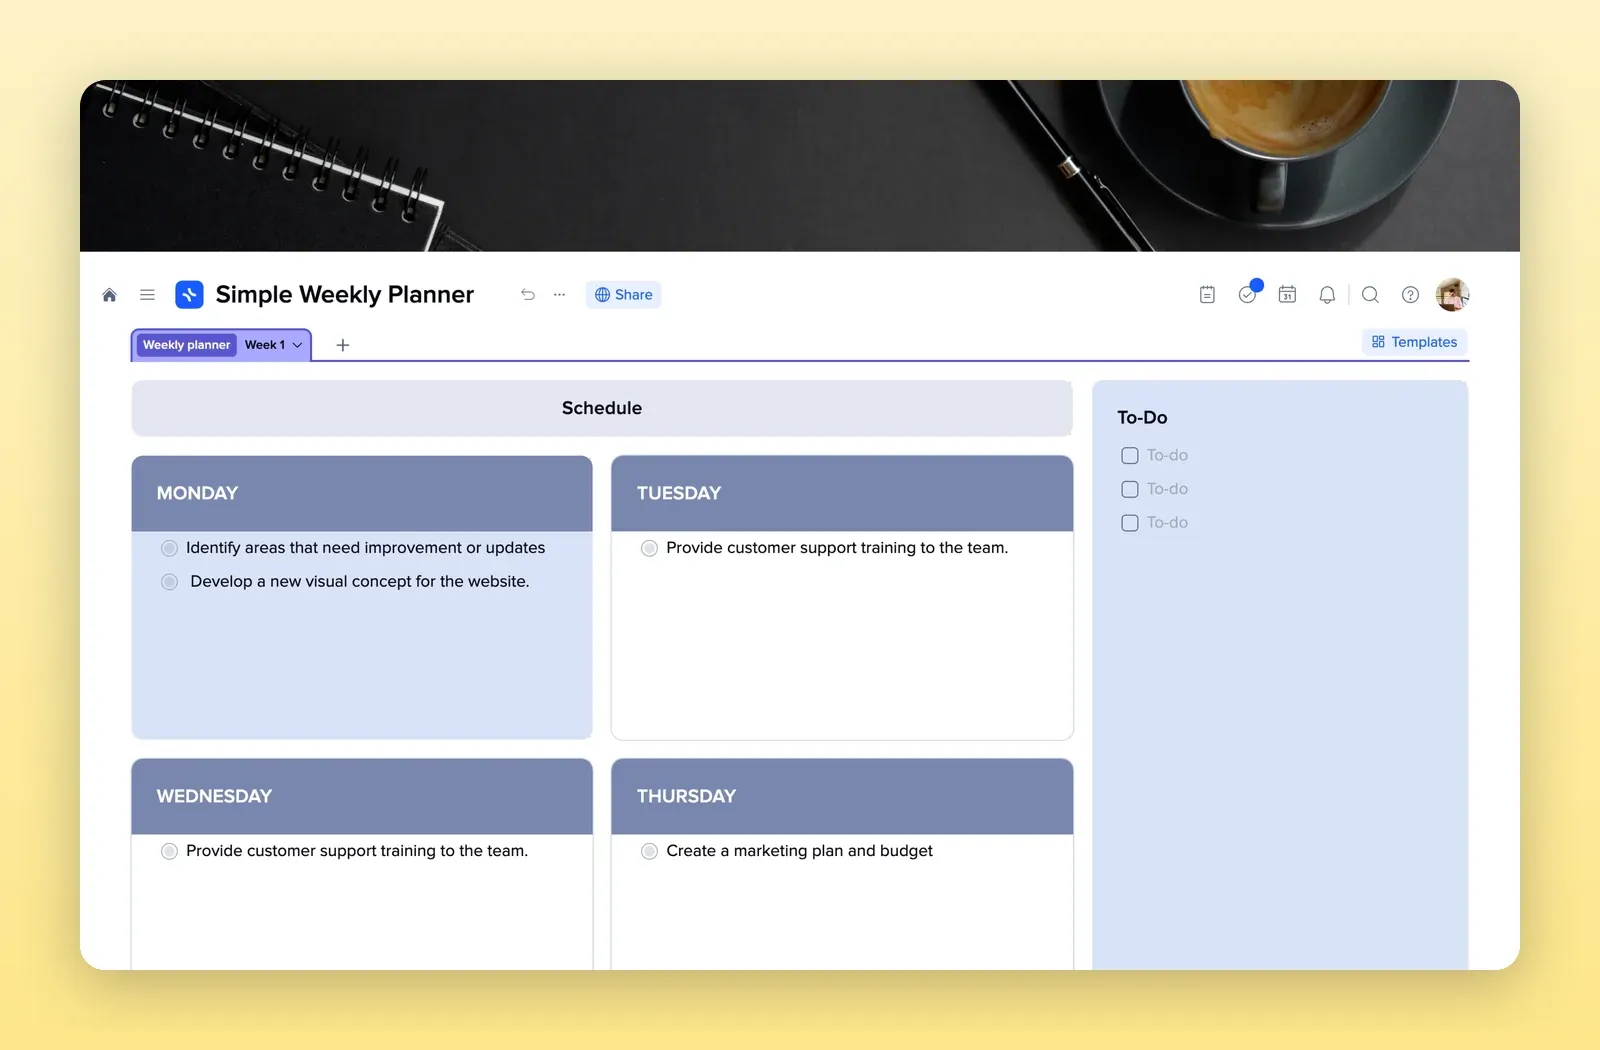
3. Simple Weekly Planner: both jobs in one week
A tile per day and a to-do list. Client deadlines first, then the store slots. Open the Simple Weekly Planner template.
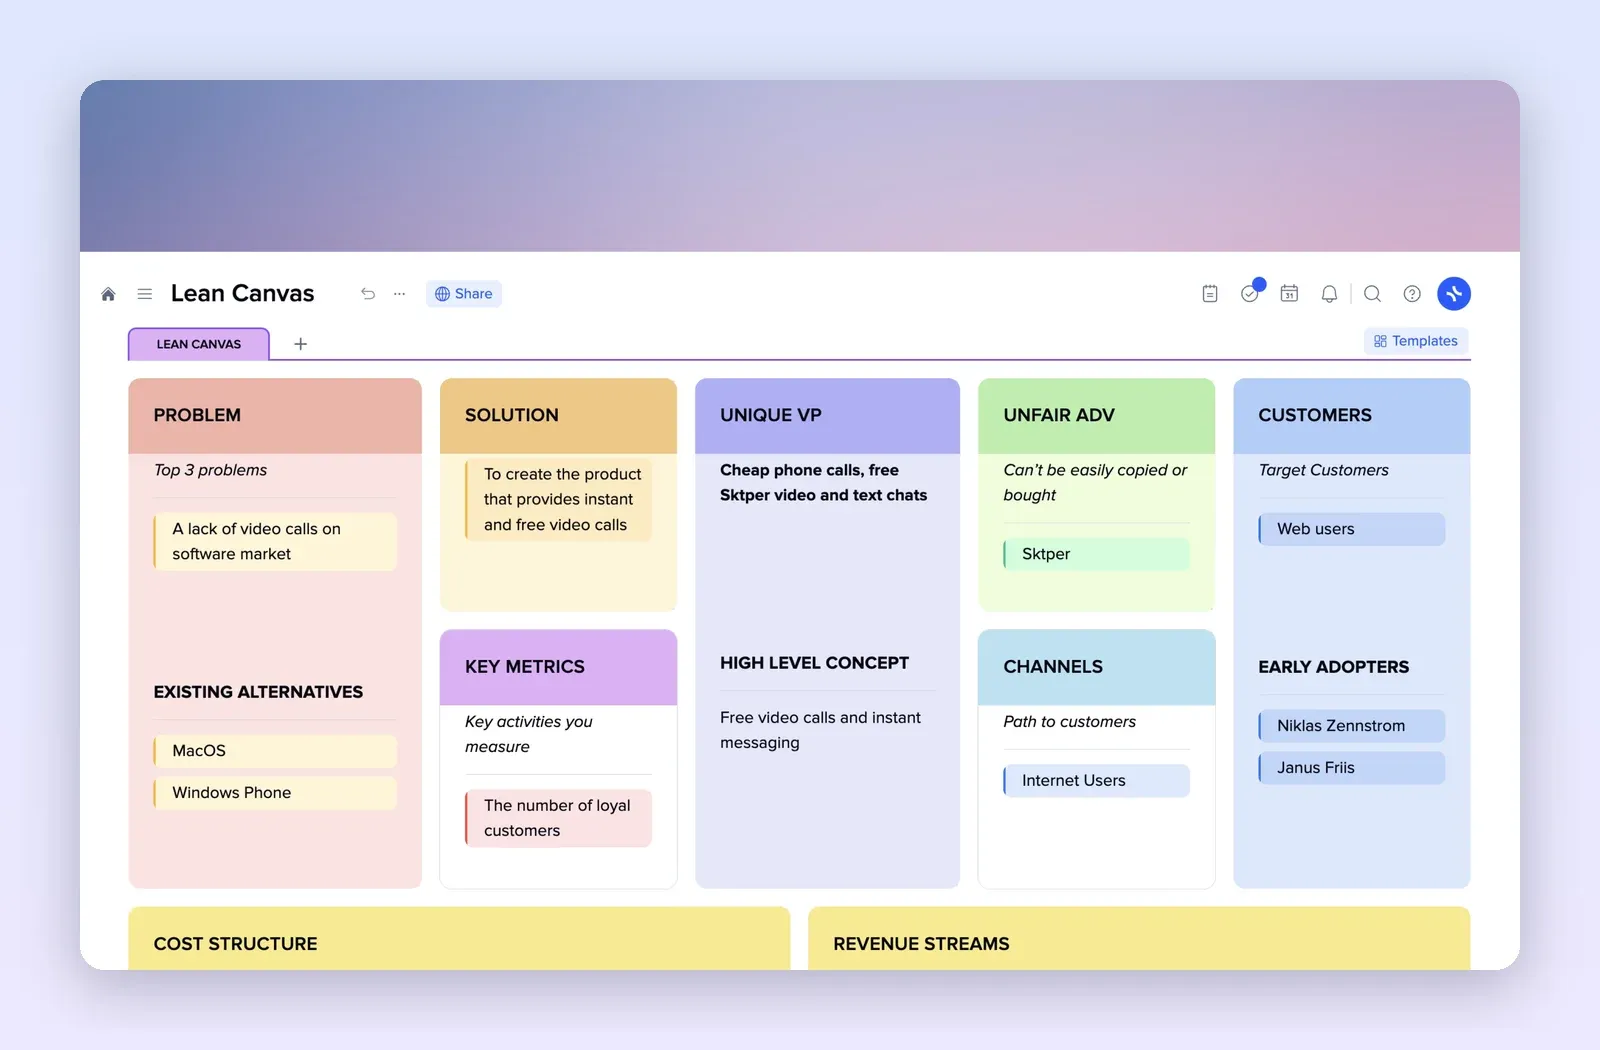
4. Lean Canvas: the store idea on one page
Problem, solution, customers, channels, costs and revenue in one view. Fill it before the checklist to decide what the first version of the store is. Open the Lean Canvas template.